3 Steps for Wavlink extender setup AC1200 and debugging Wavlink AC
Wavlink Extender Setup AC1200 progressively enhances your wireless network with the aid of Wavlink’s dual-band wireless range extender. With a very small and handy design, it allows you to enjoy hassle-free positioning.
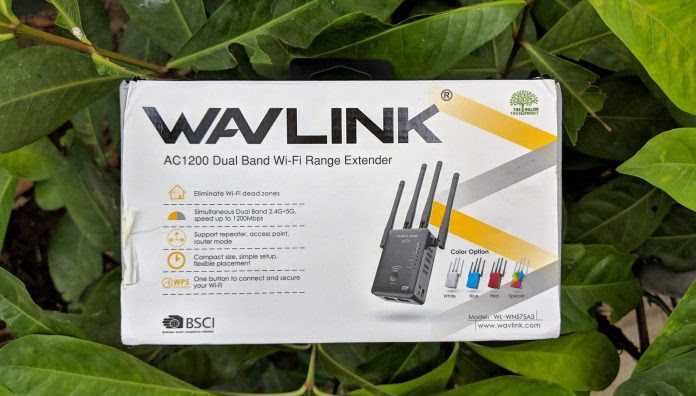
With the Wavlink AC1200 wireless range extender (WIFI range extender device), you can rapidly increase the range of your current wireless network from anywhere. around your home or office premises. This extender help to make your wireless network in a wide range. There are four antennas placed in a distinctive and patented omnidirectional design to make your present network stronger and more efficient.
The high-performance antennas allow you to connect all of your gadgets from any room in your house. They have a good quality signal with a good range. Then this extension interacts wirelessly with your router. It then automatically locates the router’s signals and begins to increase them by making the wide range of wireless networks around you.
Furthermore, the extender device is a beautiful and simple design that allows it to blend in with your present home or workplace decor. They look good at every place where you keep.
Follow the steps outlined below to set up your Wavlink AC1200 Extender. This WIFI extender device installation is incredibly simple, with over three distinct modes to choose from. So, let’s have a look at the Wavlink AC1200 setup method step by step.
When you have a problem setting up we discuss debugging Wavlink as well.
how to set up wavlink extender ?
1. Connect Wavlink Device
Wavlink-ac1200-portrait To begin, connect your Wavlink wireless range extender to a secure power source. To accomplish this, plug the power adapter into a power socket close to your router.
Ensure that all wires are adequately insulated. Check for a bright blue light indicating that the extension has been successfully turned on. This blinking of blue led lights is to be noted carefully. These indicators show the initiation of the device and when you have a problem and you can also do debugging the Wavlink extender in aid of these lights
2. Connect Wavlink extender to Router
You must now connect your extender to your router. To do so, press the WPS button on both your router and your extender at the same time. If you don’t do it within two minutes, the devices will not connect.
Ensure that the signal LED is solid blue once again. This indicates that both devices have been successfully linked. You may now go to the next level of your Wavlink AC1200 setup.
3. Provide Login and Password to connect
After properly connecting both devices, the extender can automatically identify your wireless router’s signal. Once found, the extender will help to enhance the network. Furthermore, the extended network and the normal network will use the same SSID and password. As a result, just connect and login using your current password.
Note: Also, you may need to Remove Password from Windows 10 If your windows is not able to log in or open the windows 10 operating system.
Ap.Setup is an offline website that you may access only if you are connected to your Wavlink Extender setup’s Setup page. You can open this in any browser. So, whether you have a repeater, router, outdoor access point, or another network device, all you have to do is connect to it and then go to the login tab. take the actions outlined above.
whenever you have a problem during the setup of wavlink extender you might get lots of problems. The basic problems can be solved by yourself by knowing the wavlink debugging tips. Some of the most common debugging wavlink tips are listed as below
Tips for debugging Wavlink AC1200 setup:
The WPS button is typically disabled by default on several ISP 192.168.1.1 gateways. If you are unable to connect using the WPS button, you may go on to the setup management website for your extension and configure this WIFI extender device from there.
Make sure your wireless router is closer to the location where you want your extension to go. Otherwise, the quality of your new network will be inconsistent. It’s best to keep it a meter away from your router.
Make sure the location you choose for your Ap Setup is away from any electronic equipment that might cause interference. Bluetooth systems, baby monitors, microwave ovens, and cordless phones, for example, should be kept separate from each other to reduce interference.
Last But Not Least
In summary, the wifi extender device name Wavlink AC1200 setup was all about in simple 3 steps to do. The above mention three steps will help to set up the wavlink.
They are simple and easy ways to do. you can set it up by yourself. Make sure you follow all of the steps to guarantee a proper installation of your extender. You need to seek an expert if you can do it.
how ever if you encounter the problem while setup you can also do debugging Wavlink easily. or Sometimes the wifi extender device might have hardware problem for which you need to replace this device.