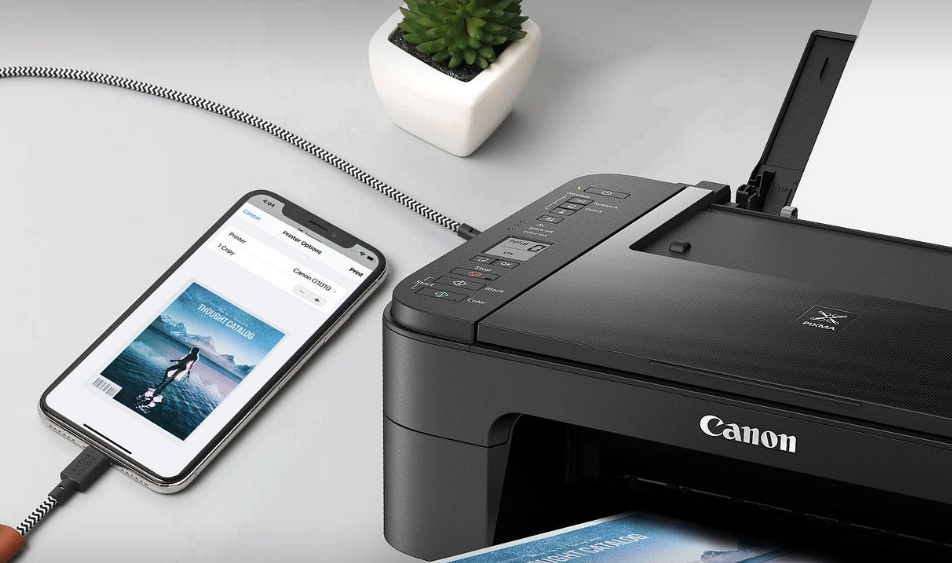
In today’s digital age, a Wi-Fi-connected printer is a valuable addition to any home or office. Canon printers are known for their reliability and high-quality printing capabilities, and they can be even more convenient when connected to a wireless network.
This eliminates the need for cumbersome cables and allows you to print from multiple devices seamlessly. In this comprehensive guide, we will walk you through the steps to connect your Canon printer to Wi-Fi. Whether you are a tech-savvy enthusiast or a complete novice, you’ll find these instructions easy to follow.
Before we dive into the step-by-step process, let’s understand why connecting your Canon printer to Wi-Fi is a great idea:
Convenience: With a Wi-Fi connection, you can print from any device that’s connected to the same network, such as your computer, smartphone, or tablet.
No Cable Clutter: Say goodbye to the clutter of cables. Wireless printing saves you from the hassle of managing wires and keeping your workspace tidy.
Multi-User Accessibility: Multiple users can print to the same Canon printer, making it ideal for shared office or household use.
Mobile Printing: You can easily print photos and documents from your mobile devices, enhancing the flexibility of your printer.
Now, let’s get started on the step-by-step process to connect your Canon printer to Wi-Fi.
Step-by-step process to connect Canon printer to Wi-Fi.
Step 1: Prepare Your Printer
Before you begin the setup process, make sure your Canon printer is properly unpacked, powered on, and loaded with paper and ink cartridges. Additionally, ensure that the printer is within the range of your Wi-Fi network. The printer should be turned on and display no error messages on its control panel.
Step 2: Access the Printer’s Control Panel
Most modern Canon printers feature a user-friendly touchscreen control panel. This is where you will navigate through the settings and initiate the Wi-Fi connection process.
- Press the power button on your Canon printer to turn it on.
- Access the printer’s control panel by touching the screen or pressing the control panel buttons, as indicated in your printer’s user manual.
Step 3: Access the Wi-Fi Setup Menu
Once you’ve accessed the control panel, you will need to locate the Wi-Fi setup menu. The exact location and labeling of this menu may vary depending on your printer model. Look for options like “Wireless LAN Setup,” “Wi-Fi Setup,” or “Network Setup.” Select the appropriate option.
Step 4: Choose Your Wi-Fi Network
In this step, your Canon printer will scan for available Wi-Fi networks. When the list of available networks appears on the screen, select your network from the list. If your network isn’t visible, you can manually enter the network name (SSID).
Step 5: Enter the Wi-Fi Password
After selecting your Wi-Fi network, the printer will prompt you to enter the Wi-Fi password. Use the on-screen keyboard to input your network’s password. Make sure to enter the correct password to establish a successful connection. It’s essential to be accurate, as Wi-Fi passwords are case-sensitive.
Step 6: Confirm the Settings
Double-check the settings you’ve entered for accuracy. Ensure that the network name (SSID) and password are correct. Once you are certain, confirm your selections to initiate the connection process.
Step 7: Connection Confirmation
Your Canon printer will now attempt to connect to the Wi-Fi network. This process may take a minute or two. Once the connection is established successfully, your printer will display a confirmation message.
Step 8: Install the Printer Software
To maximize the utility of your Canon printer, you should install the necessary printer software on your computer or other devices. This software allows your device to communicate with the printer and access its full range of features.
- Visit the Canon website (canon.com) and navigate to the “Support” or “Downloads” section.
- Enter your printer model in the search bar to find the appropriate software for your printer.
- Download and install the software on your computer or device by following the on-screen instructions.
Step 9: Test Your Wireless Connection
After successfully connecting your Canon printer to Wi-Fi and installing the necessary software, it’s crucial to run a test print. This ensures that your printer is working correctly and that it’s accessible from your device.
- Open a document or photo on your computer or mobile device.
- Select the Canon printer from the list of available printers.
- Print your document or photo to verify that the wireless connection is working as expected.
Step 10: Troubleshooting
If you encounter any issues during the setup process, here are some common troubleshooting tips:
- Check Your Wi-Fi Network: Ensure that your Wi-Fi network is functioning correctly and that you have the correct network name and password.
- Reboot Your Printer: Sometimes, a simple restart of the printer can resolve connectivity issues.
- Update Software and Firmware: Check for firmware updates for your Canon printer and update your software to the latest version.
- Signal Strength: Make sure your printer is within the range of your Wi-Fi network. If the signal is weak, consider moving the printer closer to the router.
- Firewall and Security Settings: Verify that your firewall and security settings are not blocking the printer from connecting to the network.
- Contact Canon Support: If all else fails, contact Canon’s customer support for assistance.
Conclusion
Connecting your Canon printer to Wi-Fi can greatly enhance your printing experience, offering convenience, flexibility, and accessibility from multiple devices. The step-by-step guide provided here is designed to make the setup process straightforward, even for those with limited technical expertise.
By following these instructions and being prepared to troubleshoot any potential issues, you can enjoy the benefits of wireless printing with your Canon printer.
Once your printer is connected to your Wi-Fi network, you’ll wonder how you ever managed without it. Say goodbye to cable clutter and hello to a more streamlined, efficient printing experience.

