There can be Just copy the code and paste then do the following easy steps without any Blogging Mistakes . You can easily get the sitemaps for the blogger blog site.
It might be difficult to see Who is spying on you and how to make them stop some times on your website also.. so generating sitemap is also one of the security of your web site too.
Before Editing any template or code it is recommended that you should make a backup. If there is anything that goes wrong, you still have the option to revert to the old state without hampering the site.
|
|
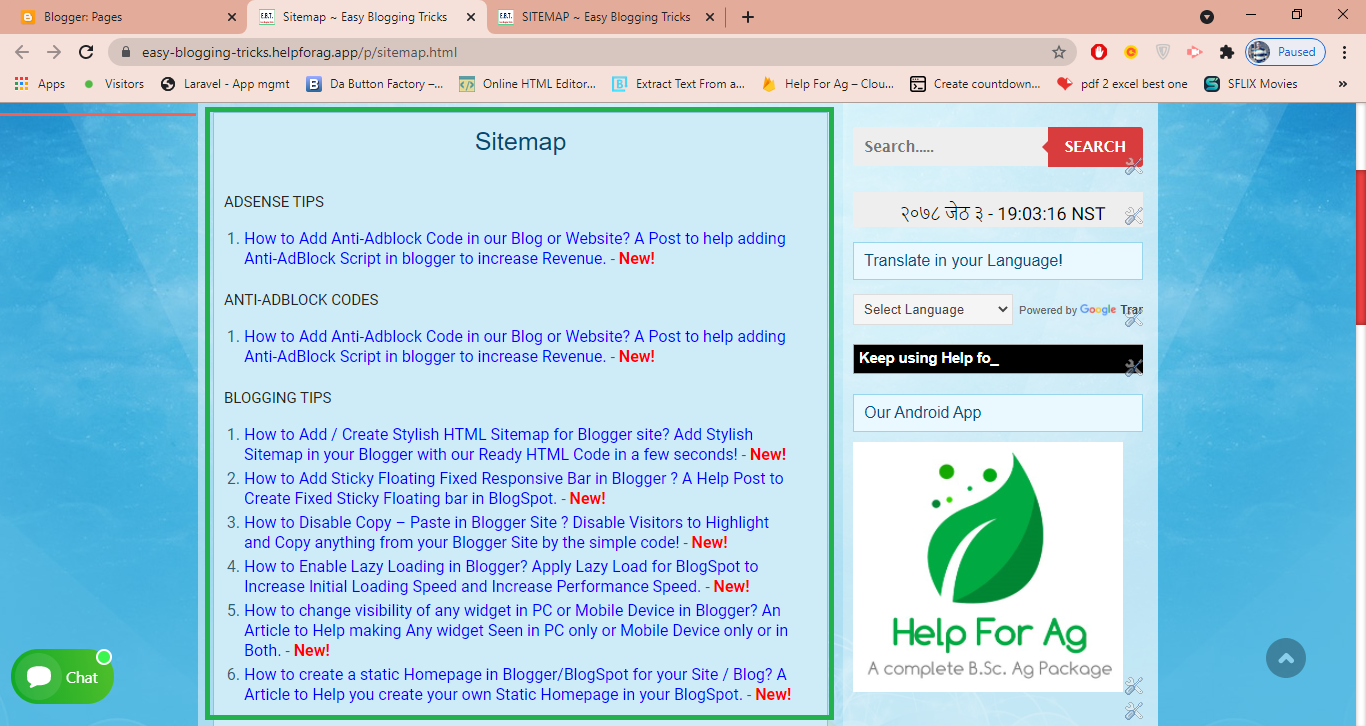
| How to add Sitemap in Blogger blog Website Easily with simple Codes |

how to create a blogger blog
Before making the sitemap for the blogspot blog, you need to know how to make a blogger blog. We have already discussed in previous blogs for creating it. Its not so much diffiucult to make blogger blog.
Lets talk brief over it . If you havent made the site then You need to gent into the blogger site and you can make blog , You have to fill up some crdintials and go forwared. before doing it you need to have gmail or google account.
Advangates of Sitemap in blogger blog
Sitemaps are the mirror of the whole site. There might be lots of stuff
Then after lets go how to add sitemap in blogger blog.
Steps to Add Sitemap in Blogger Website Easily with Simple Codes
Step-1 Adding CSS to the Site
- First, do login to your Blogger account then go to >> Templates >> Edit HTML
- Here you need to search for the ending ]]></b:skin> tag ( use CTRL+f)
- just above it paste the following code.
}
.mapapost .wrp-titulo a:hover {
color: #f30;
text-decoration: underline
}
.map-meta {
display: block;
float: left;
overflow: hidden;
padding-left: 25px;
}
.mapasite h2 .botao {
float: right
}
Step-2 Adding HTML Script to your site
The second step is the main part of the whole process. In this step, you need to add below the HTML script to the blogger blog site.
- In the same way in the logged account, go to template section
- In the template, search for the </body> tag and
- just above it paste the following HTML Coding.
- After Pasting the below HTML codes, ave your template
var static_page_text = $.trim($(‘.static_page .post-body’).text());
if (static_page_text === “[sitemap]”) {
var postbody = $(‘.static_page .post-body’);
$.ajax({
url: “/feeds/posts/default?alt=json-in-script”,
type: ‘get’,
dataType: “jsonp”,
success: function(dataZ) {
var blogLabels = [];
for (var t = 0; t < dataZ.feed.category.length; t++) {
blogLabels.push(dataZ.feed.category[t].term)
}
var blogLabels = blogLabels.join(‘/’);
postbody.html(‘<div class=”siteLabel”></div>’);
$(‘.static_page .post-body .siteLabel’).text(blogLabels);
var splabel = $(“.siteLabel”).text().split(“/”);
var splabels = “”;
for (get = 0; get < splabel.length; ++get) {
splabels += “<span>” + splabel[get] + “</span>”
}
$(“.siteLabel”).html(splabels);
$(‘.siteLabel span’).each(function() {
var mapLabel = $(this);
var mapLabel_text = $(this).text();
$.ajax({
url: “/feeds/posts/default/-/” + mapLabel_text + “?alt=json-in-script”,
type: ‘get’,
dataType: “jsonp”,
success: function(data) {
var posturl = “”;
var htmlcode = ‘<div class=”mapa”>’;
for (var i = 0; i < data.feed.entry.length; i++) {
for (var j = 0; j < data.feed.entry[i].link.length; j++) {
if (data.feed.entry[i].link[j].rel == “alternate”) {
posturl = data.feed.entry[i].link[j].href;
break
}
}
var posttitle = data.feed.entry[i].title.$t;
var author = data.feed.entry[i].author[0].name.$t;
var get_date = data.feed.entry[i].published.$t,
year = get_date.substring(0, 4),
month = get_date.substring(5, 7),
day = get_date.substring(8, 10),
date = text_month[parseInt(month, 10)] + ‘ ‘ + day + ‘, ‘ + year;
var tag = data.feed.entry[i].category[0].term;
var content = data.feed.entry[i].content.$t;
var $content = $(‘<div>’).html(content);
var src2 = data.feed.entry[i].media$thumbnail.url;
htmlcode += ‘<div class=”mapapost”><div class=”map-thumb”><div class=”map-img”><a href=”‘ + posturl + ‘” style=”background:url(‘ + src2 + ‘) no-repeat center center;background-size: cover”/></div></div><h3 class=”wrp-titulo”><a href=”‘ + posturl + ‘”>’ + posttitle + ‘</a></h3><div class=”map-meta”><span class=”p-author”>’ + author + ‘</span><span class=”p-date”>’ + date + ‘</span></div></div>’
}
htmlcode += ‘</div>’;
mapLabel.replaceWith(‘<div class=”mapasite”><h2>’ + mapLabel_text + ‘<span class=”botao”><i class=”fa fa-plus-circle”></i></span></h2>’ + htmlcode + ‘</div>’);
$(document).on(‘click’, ‘.mapasite h2’, function() {
$(this).parent(‘.mapasite’).addClass(‘active’);
$(this).find(‘.botao .fa’).removeClass(‘fa-plus-circle’).addClass(‘fa-minus-circle’);
});
$(document).on(‘click’, ‘.mapasite.active h2’, function() {
$(this).parent(‘.mapasite’).removeClass(‘active’);
$(this).find(‘.botao .fa’).addClass(‘fa-plus-circle’).removeClass(‘fa-minus-circle’);
});
}
});
});
}
});
}
//]]>
</script>
Step-3 Adding Sitemap In Pages
At last, you need to add a sitemap on the pages. This is one of the most essential part which you need to do carefully . Follow the below steps:
- Go to your blogger dashboard
- Go to Pages
- Add New Page
- On the new page content –> add page title and hiding the comments using options
- add the following shortcode in the page content area.
- [sitemap]
Conclusion:
Sitemap in Blogger blog is good for the submitting the site for the google index.


Leave a Reply